
Installation
From box to first photo, step by step.
A reliable photo point starts with the view and visitor position. We then prepare the camera and the simplest suitable setup.
Eight acceptance stages.
- 1
Choose the frame
Check the background, light, visitor safety and final composition.
- 2
Place the camera
Choose a stable position that clearly faces the people.
- 3
Connect
The camera connects to the internet through an additional control device.
- 4
Pair
Assign the camera to the venue and confirm it is ready.
- 1
Set the frame
Use real people to verify angle, scale and focus.
- 2
Apply branding
Review logo, copy, sponsor areas and photo formats.
- 3
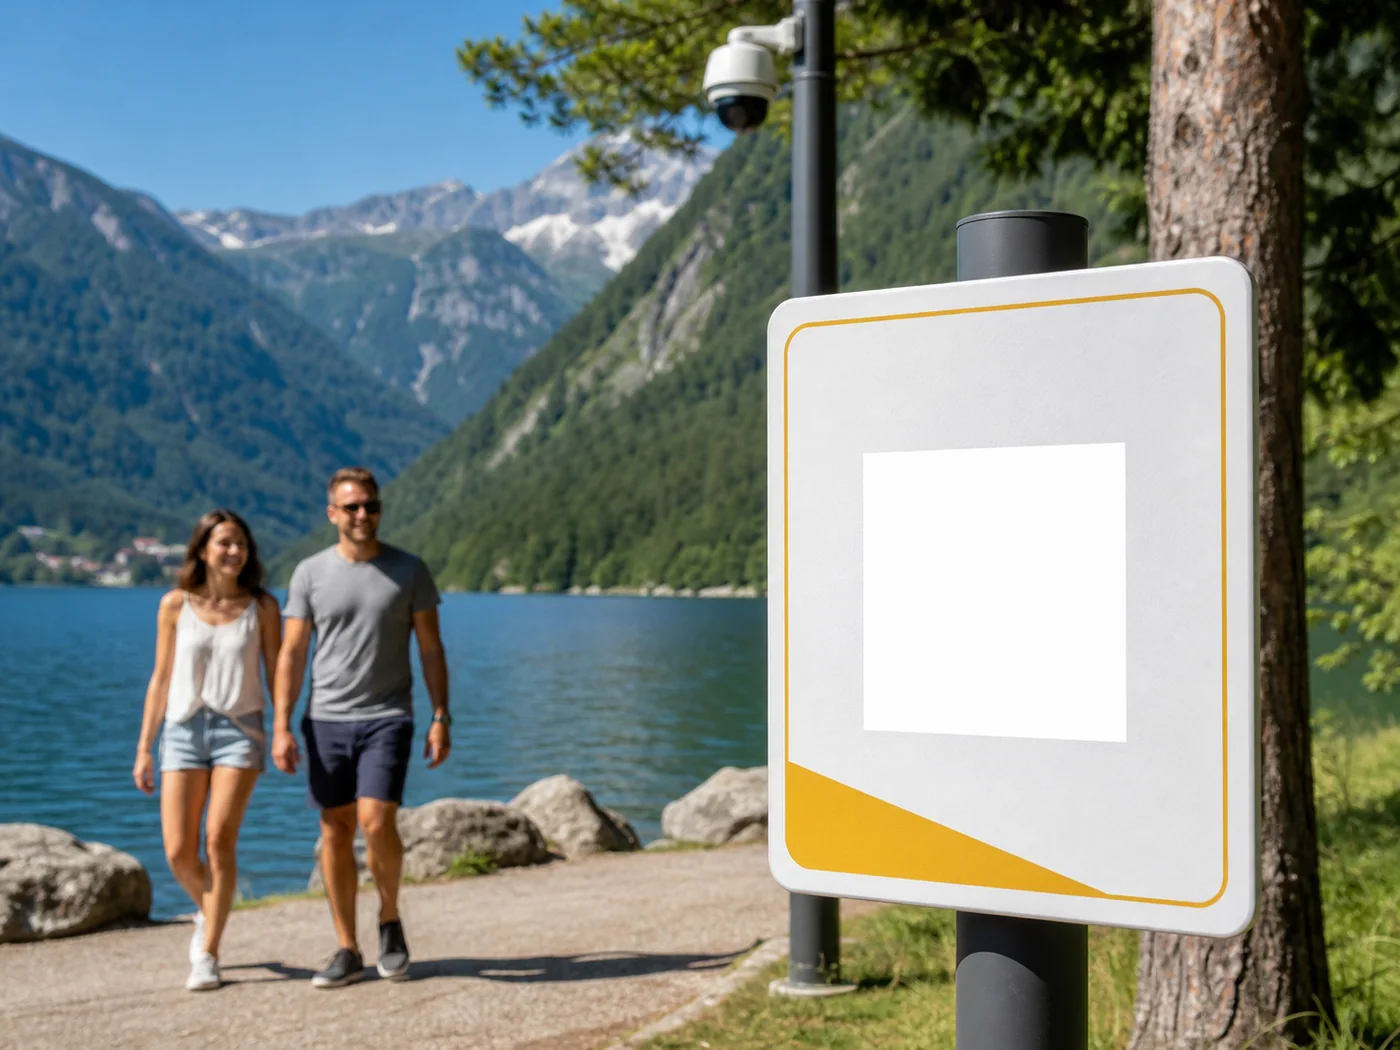
Place the sign
Install and scan-test the real QR code from common phones.
- 4
Accept
Complete a real photo journey and confirm the handover.
Final check
The installation is complete only after a real end-to-end test.
The final check includes the approved camera view, visitor position, sample photo, QR sign and clear handover.
- Camera remains stable
- QR scans in different light
- Visitor notice is easy to read
- Final photo matches the approved frame
- The responsible team knows where to get help
Need an installation plan?
Send the location and intended view. We will return a simple checklist for your venue.